Easy Mode
We’ll create a room, stream to it through OBS, then view the stream through the Pipe testing tool.Creating the Room
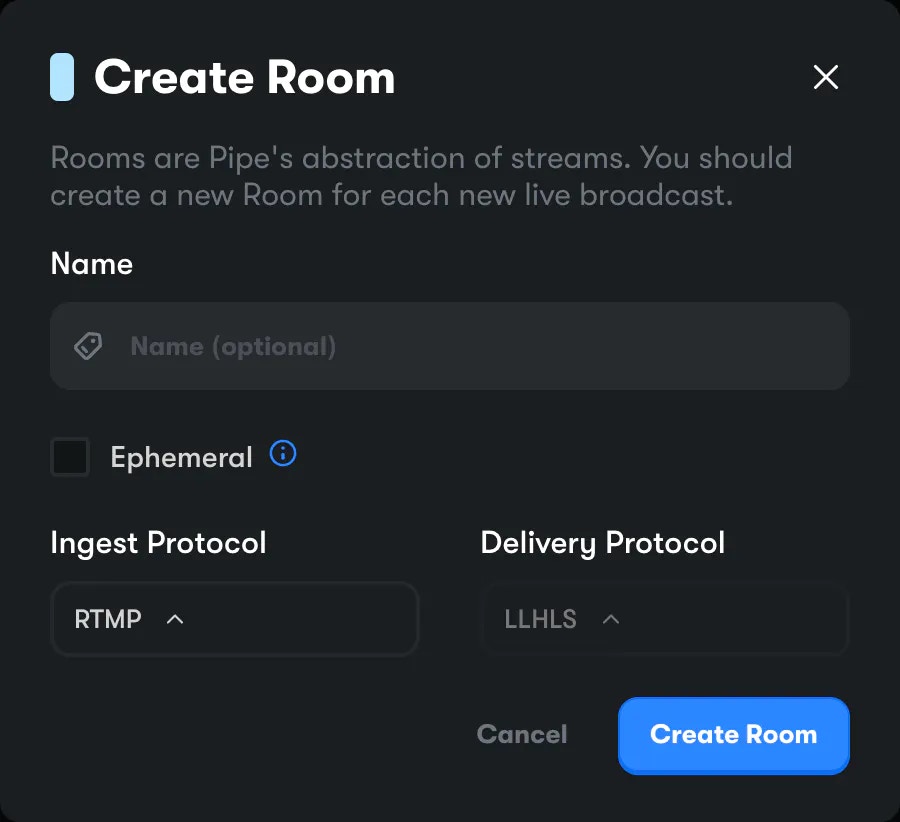
Head over to the Rooms tab under the Pipe page in the Console. Click “Create Room” in the top right. You’ll be presented with a modal:

Streaming via OBS
OBS allows you to quickly and easily set up a livestream from your machine. Once downloaded, head over to the “Stream” tab in the Settings page:
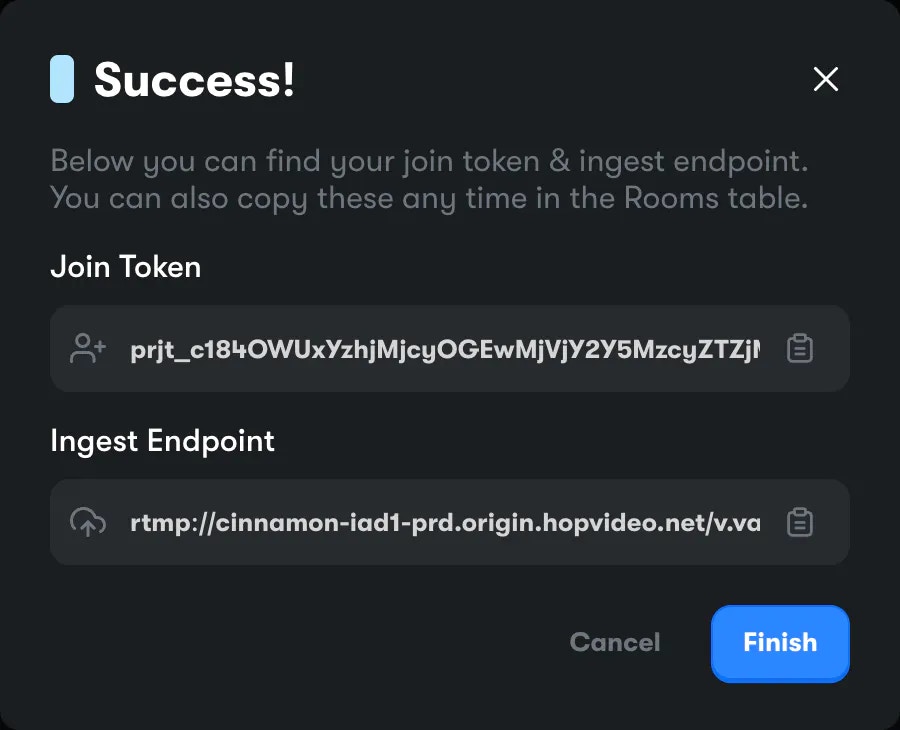
/) from the endpoint. This is technically
what OBS calls the “Stream Key”. Paste it into Stream Key input, then delete
it from the Server input, along with the final /.
Once done, your Stream config should look something like this:

Advanced Mode
This how-to guide is not complete. Please ask in our Discord if you have any questions.Before we get started, make sure you obtain a Project Token with “Manage Pipe” permissions from the Console and use it to initialize the Hop SDK. How to Create Project Tokens