When using the
hop deploy command or GitHub integration, you’re using our
registry by default.Registry hostname:
registry.hop.ioPushing a Docker Image to the Hop Registry
You can push any OCI-compliant image (such as a Docker image) to the Hop Registry. It’s super easy, and will be available to use within your Hop project.Logging into the Registry
You’ll need Docker installed on your machine to do this.Obtain a Personal Access Token
To log in to the registry, you’ll have to use a Hop PAT. They can be created from this page on the console (User Settings -> Personal Tokens). Click on the “Create Token” button in the top right, optionally give it a name such as “Hop Registry” and finally click Create Token within the modal. It’ll be created and will be shown in the PAT list:
Log into the Registry
Execute the following command:Build & Push the Image
When you build your Docker image, make sure you prefix the tag withregistry.hop.io/<PROJECT_NAMESPACE>. For example, my project’s namespace is
test, so I’ll run the following command to build my container:
If you don’t know your project’s namespace, you can find it on this
page
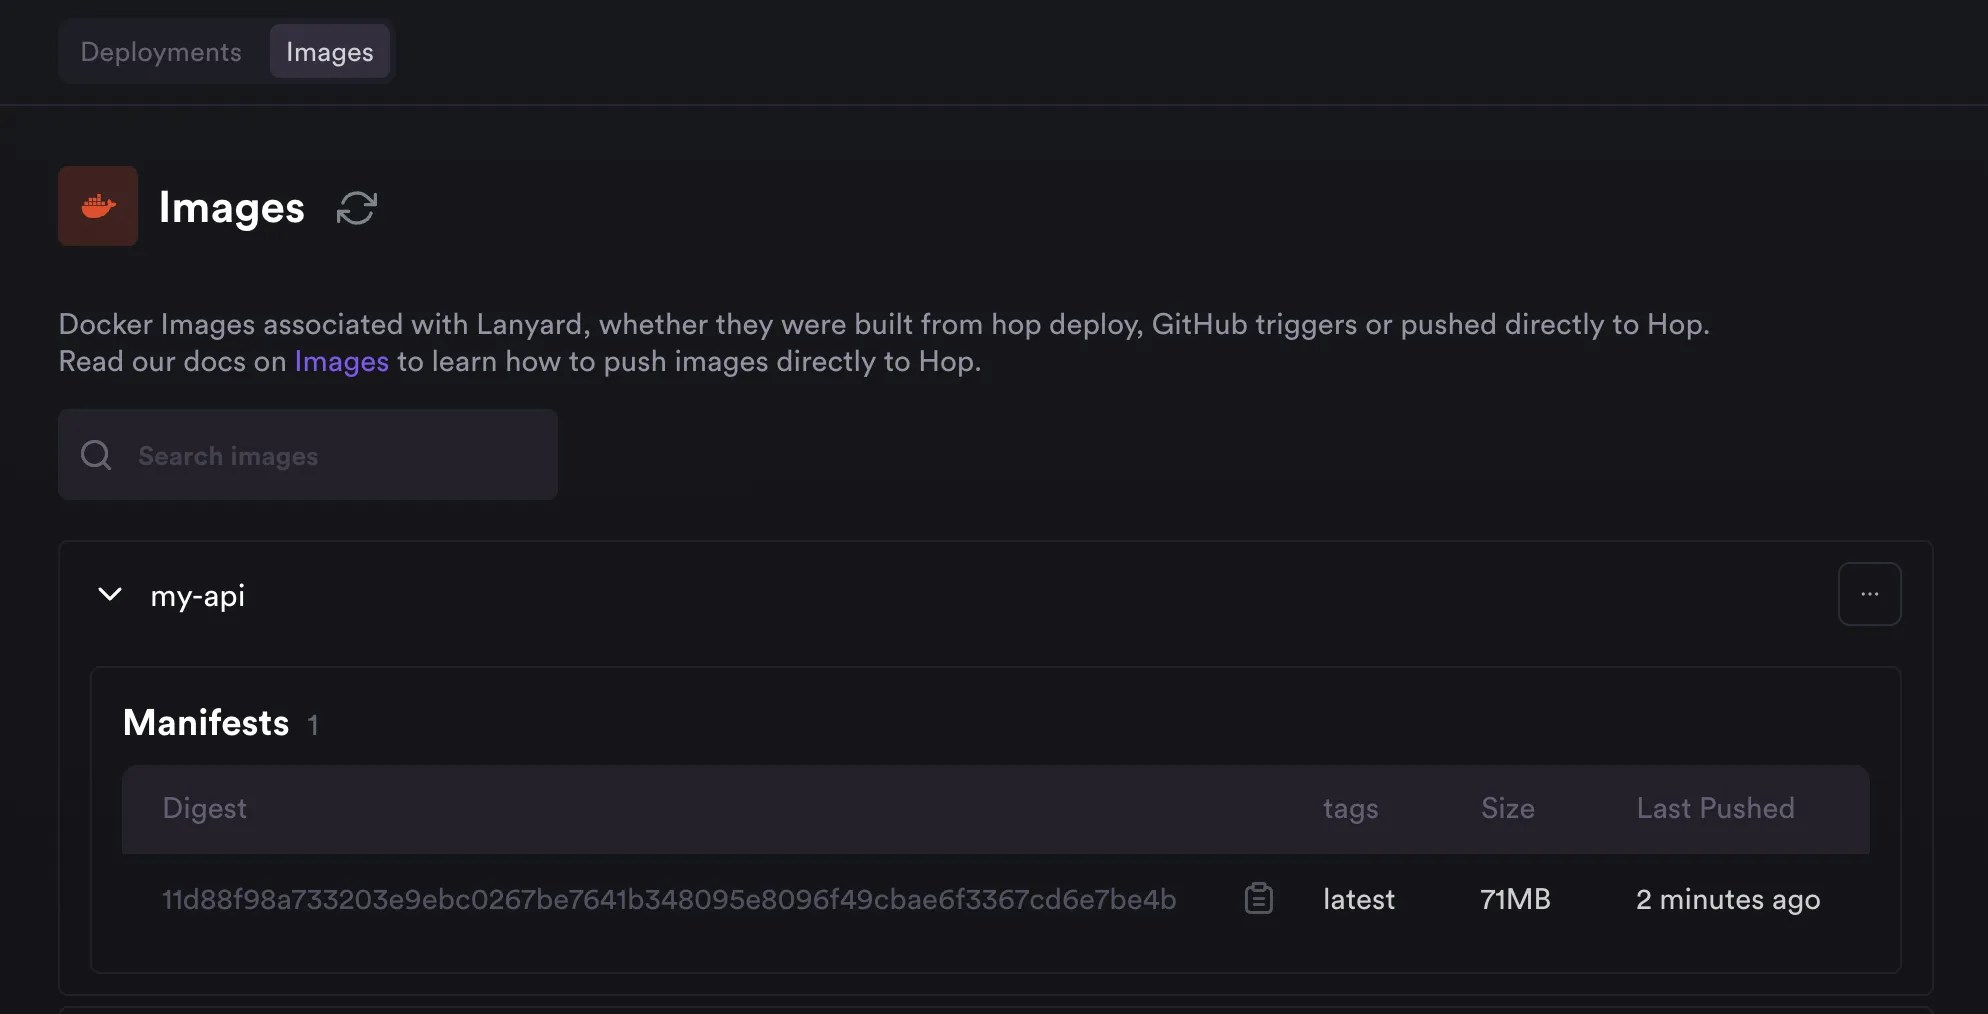
View the Image
Once your image is pushed, you can view it on the Images tab of Ignite: