There are 2 types of gateways: Internal or External. External gateways expose your deployment to the internet under a protocol of your choice, e.g. HTTP. Internal gateways expose your deployment to your project by giving you an IP address and customizable internal domain to use. Currently, both gateway types round-robin requests between containers. In the future, there will be more fine grained controls for load balancing requests.

Creating a Gateway

You can create a gateway using the Hop Console or the Hop CLI.
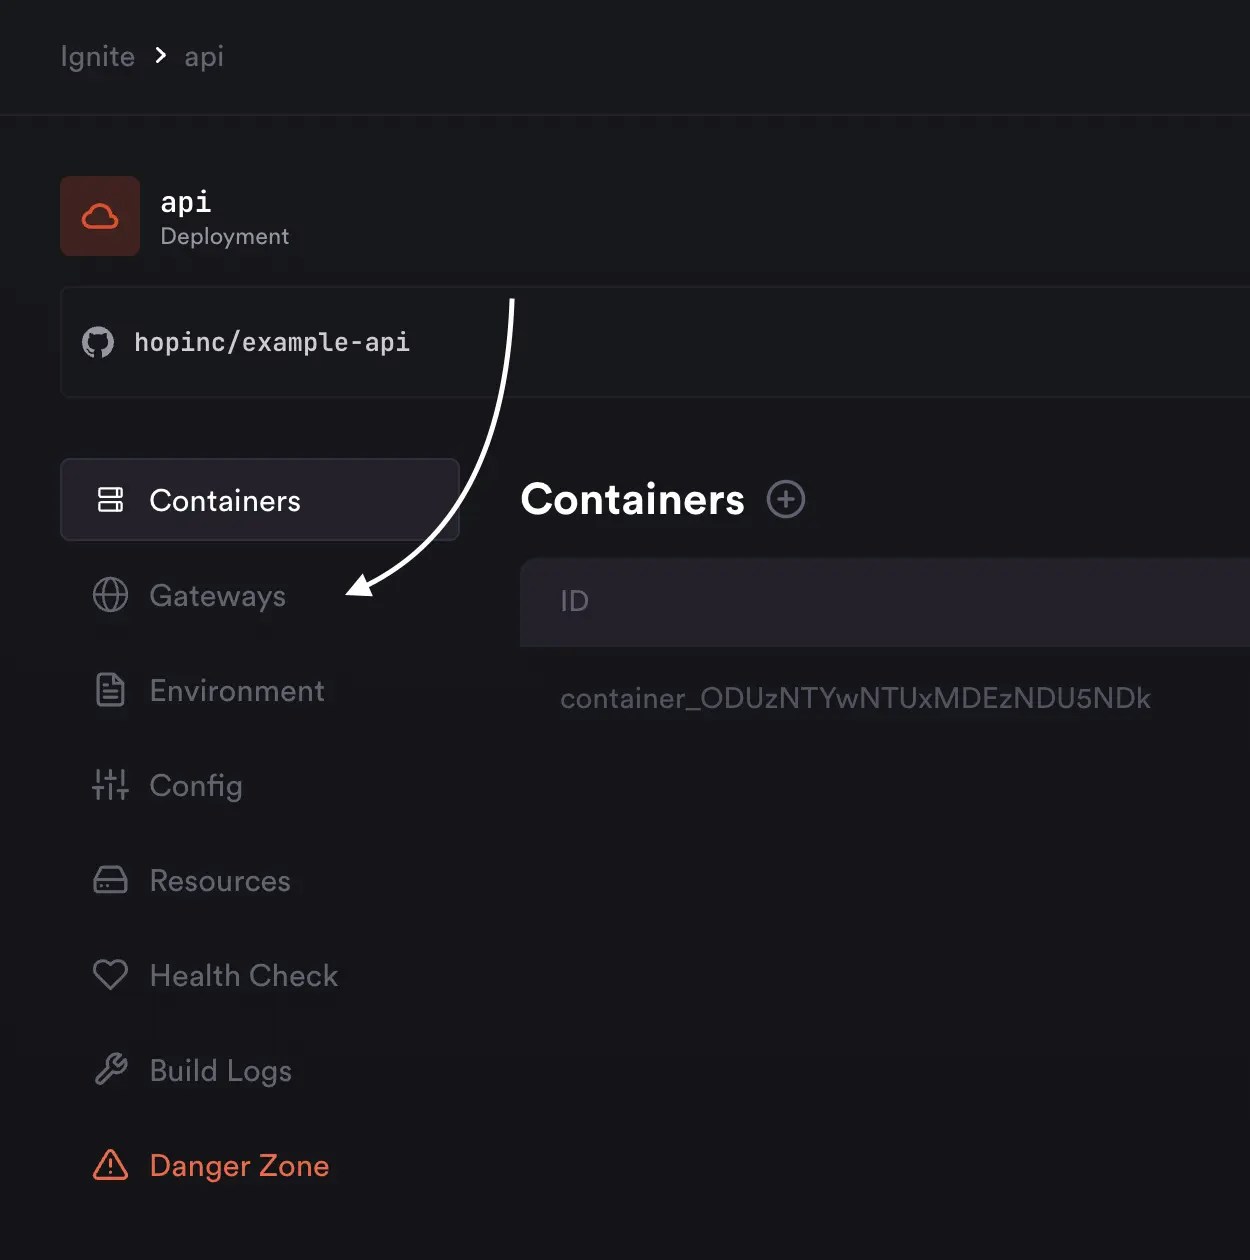
  1. Navigate to the Gateways tab in an Ignite deployment:
  1. Click on the “Create Gateway” button in the top right:
  1. You will be presented with a modal:
Here, you can select the gateway type and target port.Gateway type can be either:
  • External, or
  • Internal
At the moment, external gateways only support HTTP(S), so there’s no option to select the protocol yet.The target port should be the port your app listens on. The gateway will load balance requests between containers on the target port. HTTP gateways will automatically handle external HTTP and HTTPS termination on the correct ports (80 & 443), so you don’t need to run your application on these ports.
  1. Click Create Gateway.
To create a gateway interactively, run the following command:
hop gateways create [--project <project-namespace>]
This will take you through the steps to set up a gateway on a deployment.You can also create a gateway non-interactively by passing the following flags:
hop gateways create \
  --type <type> \
  --target-port <port> \
  --project [namespace]

Adding Custom Domains

By default, every external gateway gets assigned it’s own .hop.sh domain, generated using the deployment name. You have the choice to update this subdomain to something not taken already, or you can add your own custom domains.
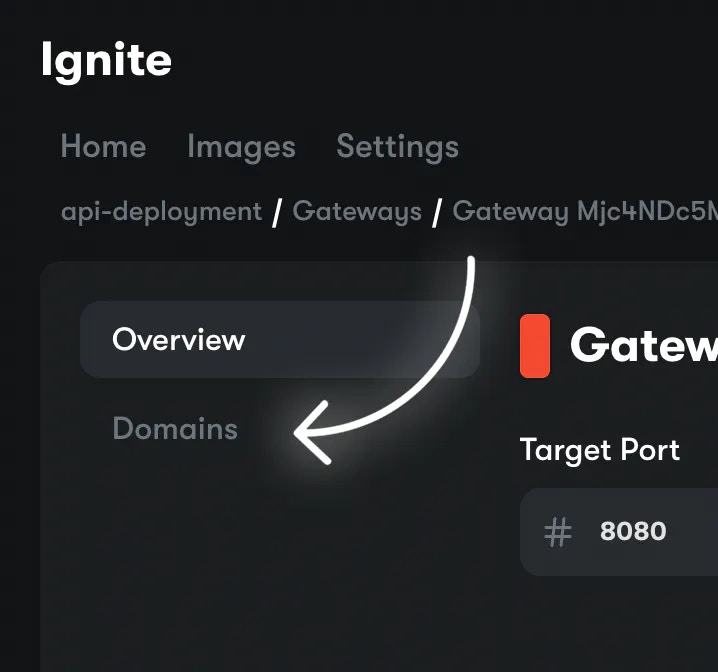
  1. Head over to the “Domains” page inside your gateway.
  1. Here, you can manage the .hop.sh domain as well as add your own custom ones. To add a custom domain, click on the Attach Domain button in the top right of the page.
  2. You will be presented with this modal, where you should enter your desired domain.
  1. Click Next.
After this, you will be required to create a CNAME record for your previously entered domain pointing to Hop.
  1. Details about this record will be shown on screen in a modal after entering the domain. You should add this record to your DNS provider.
hop domains attach [gateway] [domain]

Headers

When HTTP requests are sent to your services, they are proxied through our edge network where we append the following headers onto the final request.

Request Headers

HeaderDescription
x-forwarded-for The IP of the client that made the request as it hits our network
hop-edge-nodeThe node the gateway that proxied your request lives on
hop-regionThe region the gateway service lives on
hop-gateway-idThe ID of your deployment’s gateway the request is going through. This will be prefixed with gateway_
hop-connecting-countryThe country code of the client that made the request
hop-connecting-ipThe IP of the connecting client
x-real-ipThe IP of the originating client

Response Headers

HeaderDescription
hop-edge-nodeThe node the gateway that proxied your request lives on
hop-regionThe region the gateway service lives on
serverIndicating the response is from Hop, the value will be hop
I